11. Enrolling Students
If you have been following along with the Getting Started guide, we now have a class that has a tuition item and payment scheduled, and we have scheduled the class. We are now ready to enroll students in to the scheduled class.
There are a number of different ways to enroll students into classes. With Studioware, you can enroll a single student in a class, you can enroll a group of students in in class, or you can enroll students from one class in to another class. The following steps demonstrate how to enroll multiple students in a class:
-
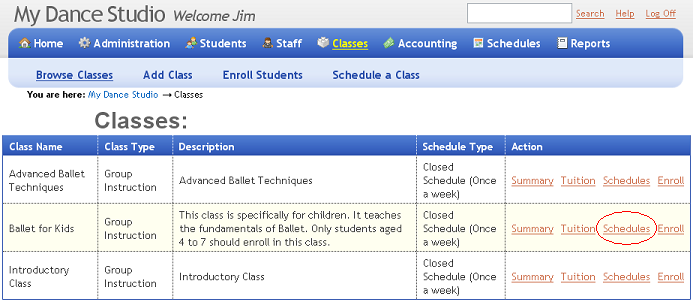
Click on "Classes" in the main menu to view a list of all the classes. Click on the "Schedules" link next to the scheduled class that you want to enroll students in.
-
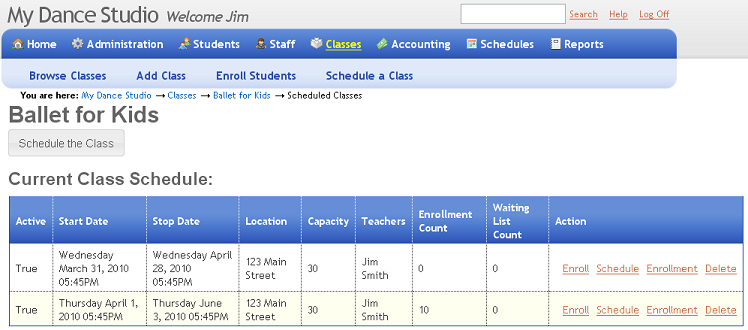
Click on the "Enroll" link next to the scheduled class that you want to enroll students in to.
-
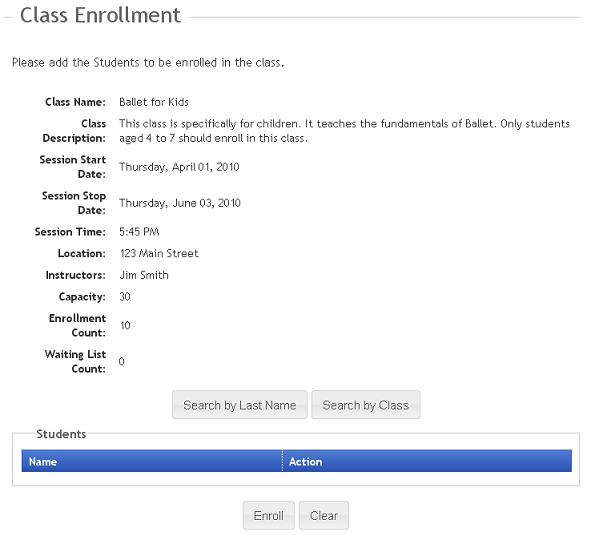
In the Class Enrollment web page click on the "Search by Last Name" button:
-
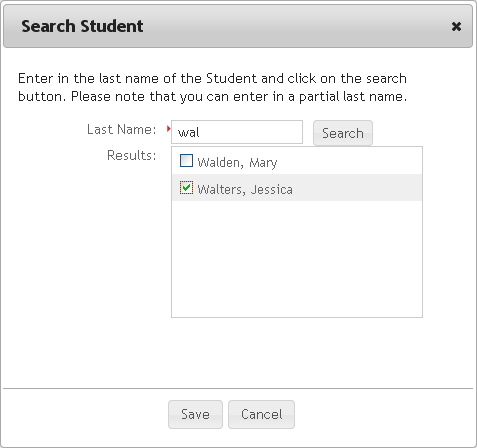
In the Search Student dialog box, enter in the students partial last name and click on the "Search" button. The list of students matching the search criteria will be displayed. Click on each student that should be enrolled in the selected scheduled class. Repeat this step multiple times to accumulate students to be enrolled in the class.
-
After you have accumulated a group of students to be enrolled in the class, click on the "Enroll" button:
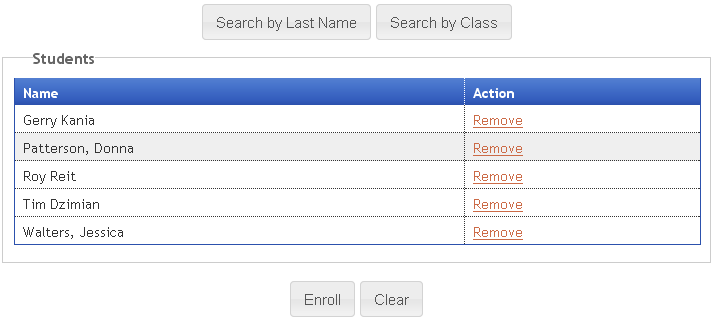
-
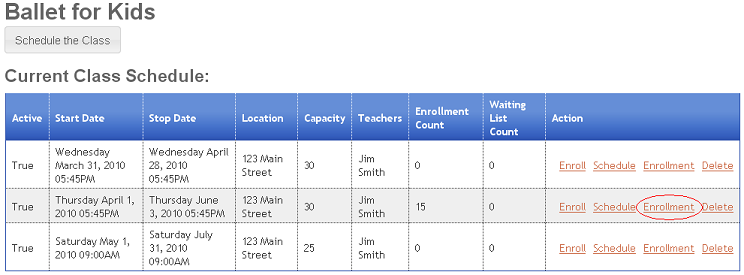
To view the enrollment (and waiting lists) for a scheduled class, click on the "Enrollment" link next to the scheduled class:
-
The list of enrolled students (and waiting list students) is displayed:
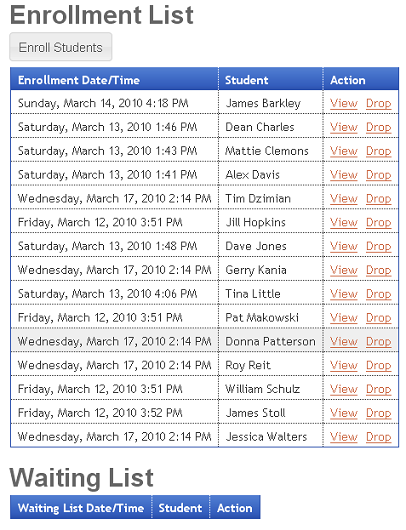
Whenever a student is enrolled in a classes, Studioware automatically posts the Tuition transactions to the student's account according to the tuition items and payment scheduled defined in the class.